Workbench construction
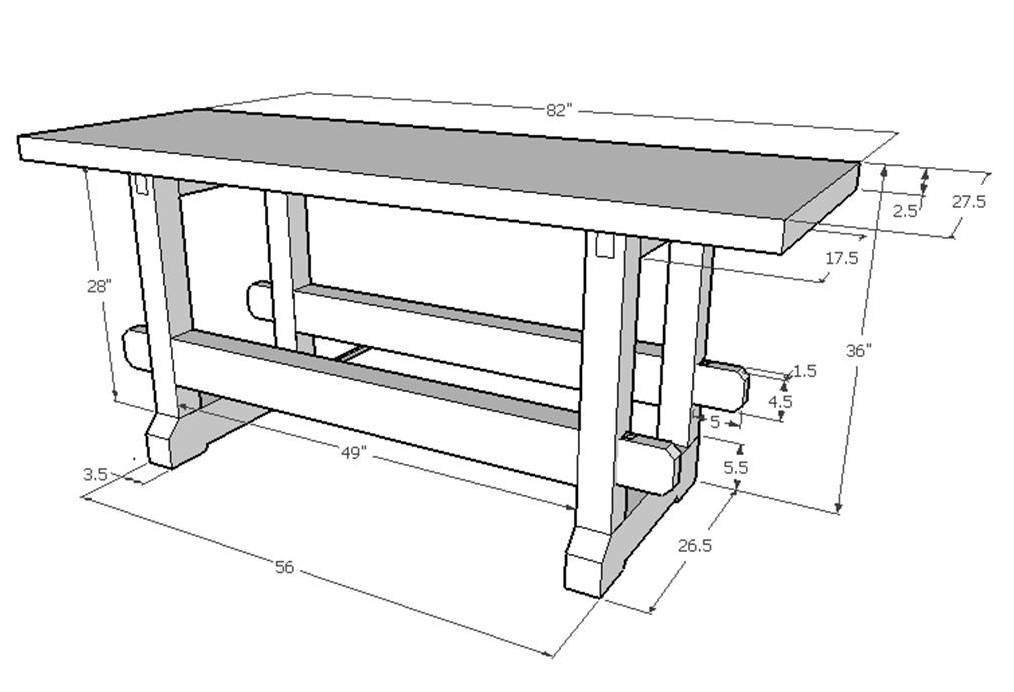
I put a lot of consideration into building a workbench that would be very functional for traditional woodworking. In doing so, I investigated various books and references and then tried to incorporate as many of the features I cared about into my design while trying to keep it simple. I wanted a beefy base for the planing forces, dog holes that could double as holdfast holes in the top and down one side, good quick-acting vises for jointing and sawing, an overhang along the other side for clamping, a beefy top for taking pounding, and knockdown assembly since it would need to be moved out of the basement someday. I made a few layouts in AutoCAD but mostly worked out the details as I went along. The following images provide insight into the bench’s construction.
Workbench Base
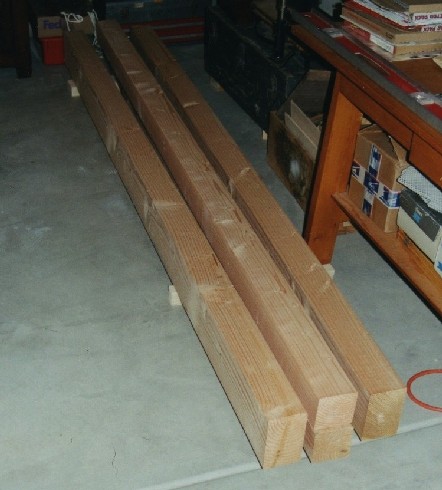
The base was constructed from 4×6 and 4×4 spruce beams.
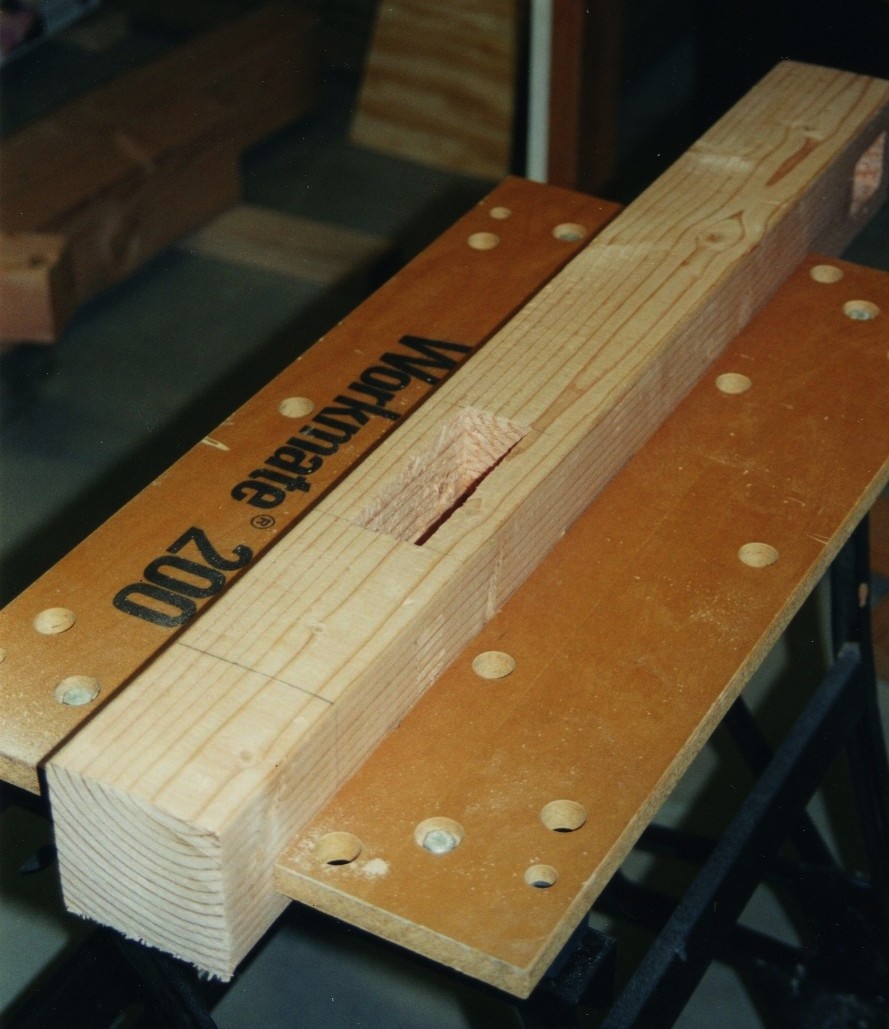
First, I rough cut the legs and chopped mortises for the crossmembers and stringers. Tenons were cut into one end of each leg for mating with the base crossmembers. Also, I added mortises in the base crossmembers for the leg tenons and cut tenons in the upper crossmembers for mating with the legs. I relieved the center bottom regions of the base crossmembers so that the workbench would rest on “feet” to increase the stability.
The two leg trusses were assembled using adhesive. The rear legs were pre-drilled with 3/4 inch round dog/holdfast holes.
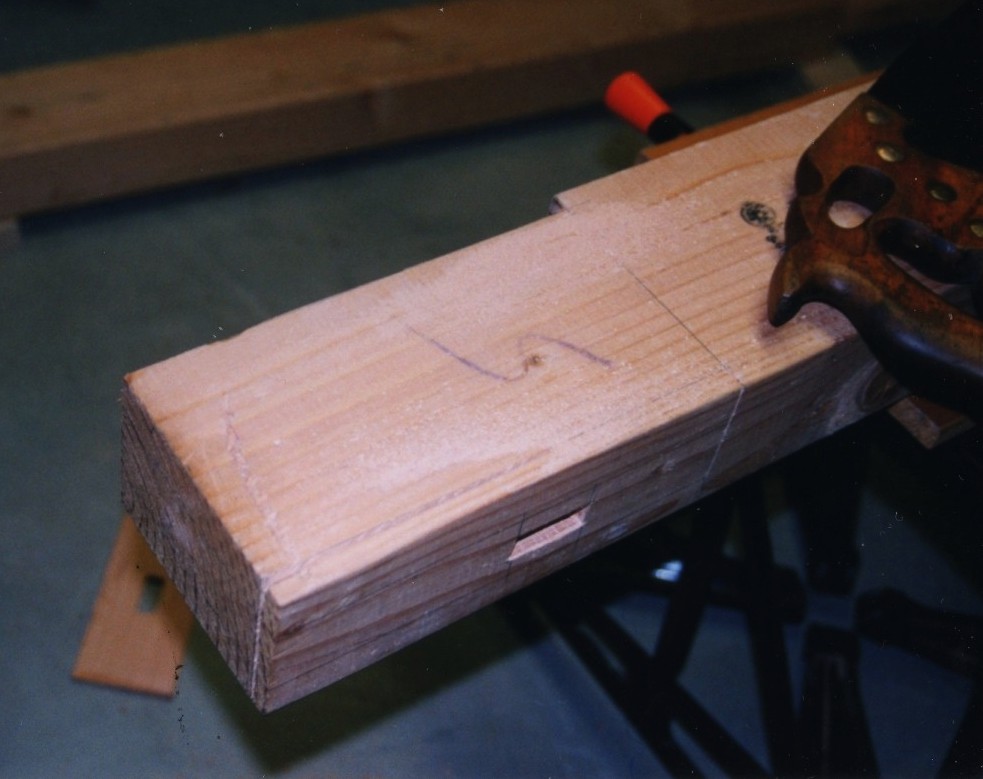
Next the ends of the stringers were laid out, the wedge tenons were cut and work was started on the large tenons. I purposely left a lot of material beyond the wedge tenons to reduce the chance of shear-out. I also wanted the stringer tenon shoulders to seat firmly against the legs to help prevent bench racking, so I left pronounced tenon shoulders all the way around the tenons. I oriented the 4×6 stringer beams such that they provided maximum resistance to racking.
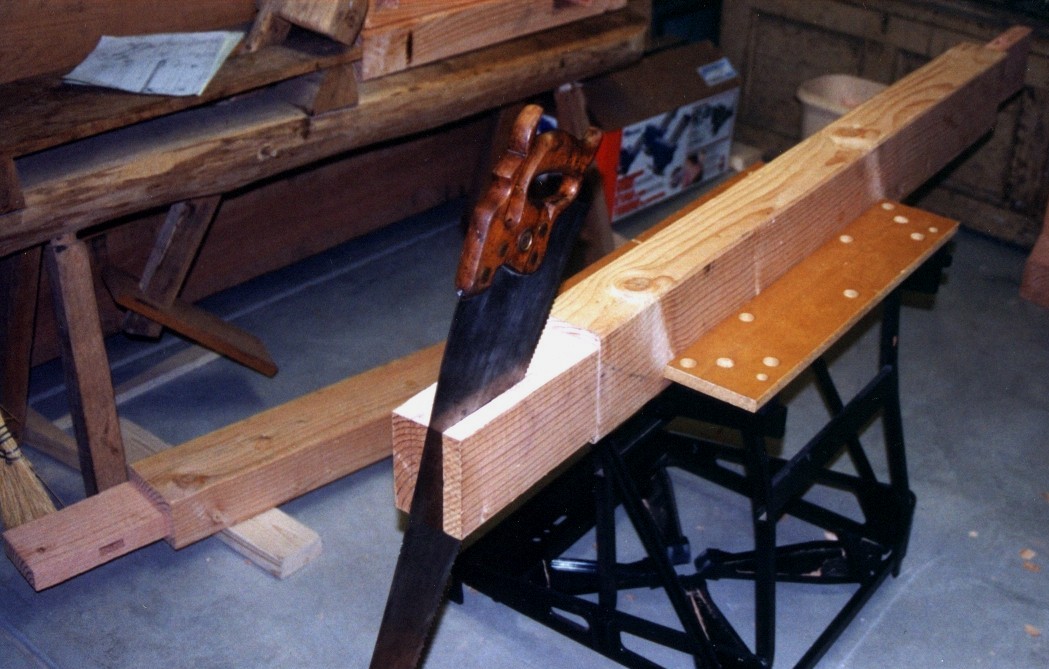
The tenons were cut with a rip-handsaw. A finished stringer is shown in the background.
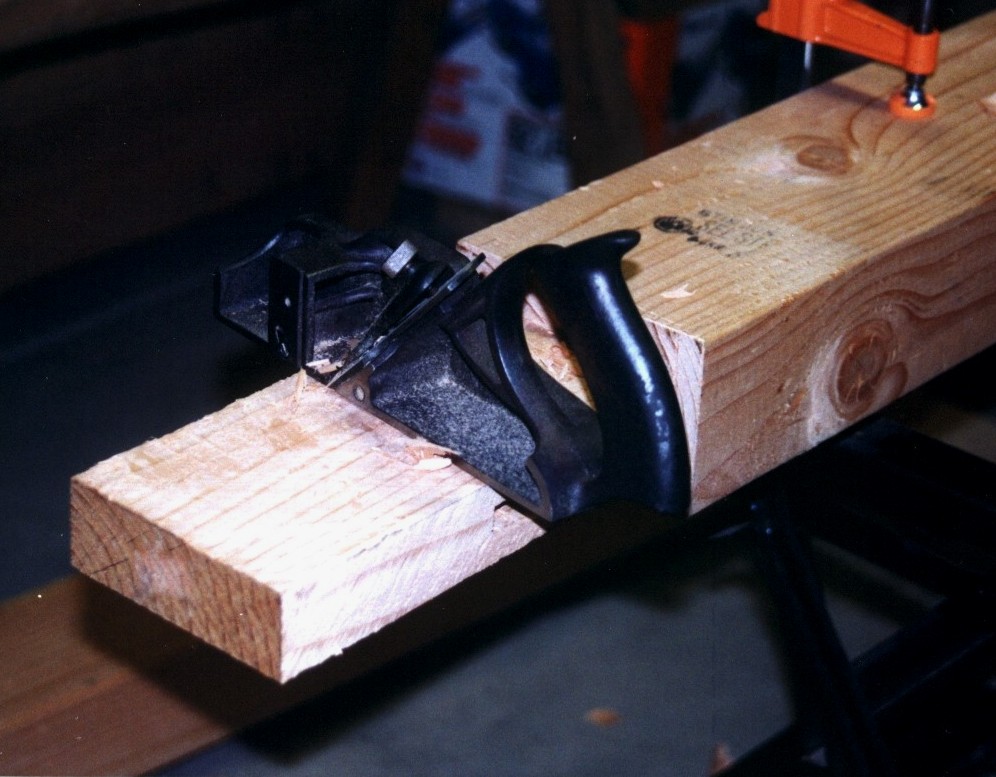
The tenons were cleaned up with shoulder planes and a Stanley 289.
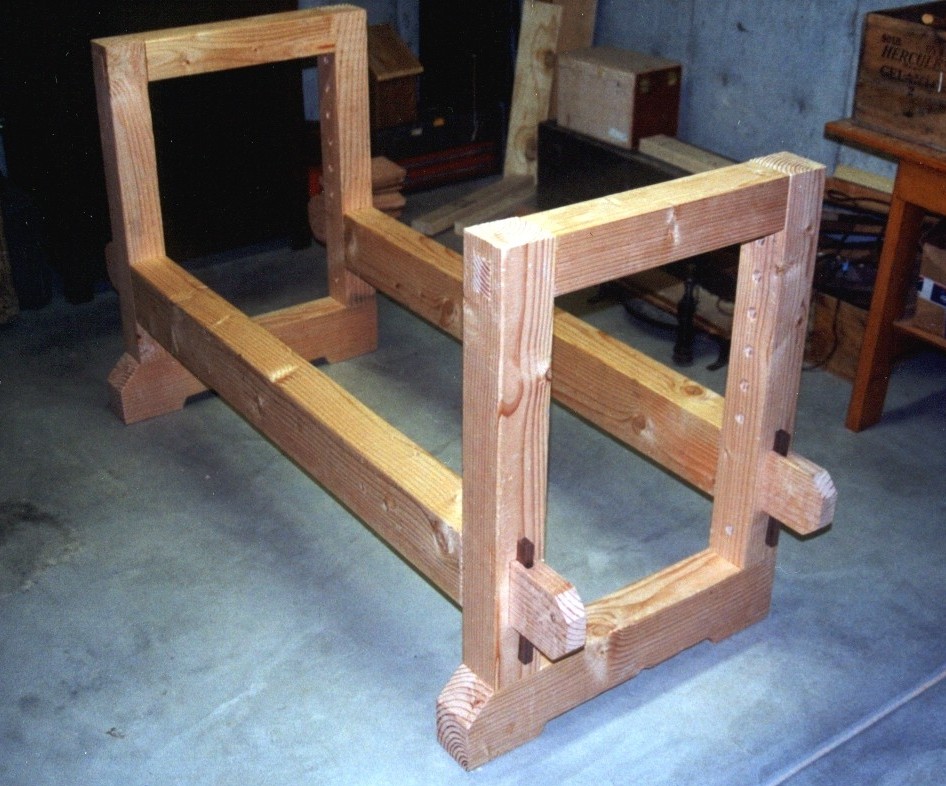
This image shows the legs trusses assembled with the stringers using the wedges. The design allows removal of the stringers for easier transport. Also, if necessary, in the future the wedges can be further tightened as the joints loosen with time due to hard workbench use. I used reversed double wedges so that the wedge mortises could be cut with parallel sides.
A second view of the assembled base showing the rear which is set up with dog/holdfast holes to hold wide boards and doors for jointing. Not shown are two dowels that were installed in the top of the upper crossmembers near the two front legs that locate and hold the workbench top.
Workbench Top
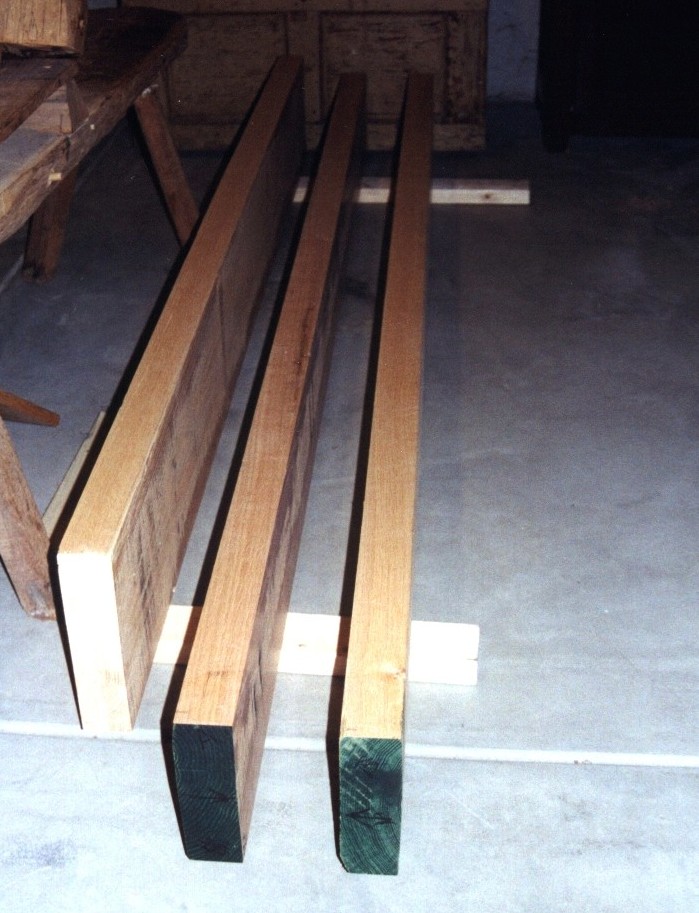
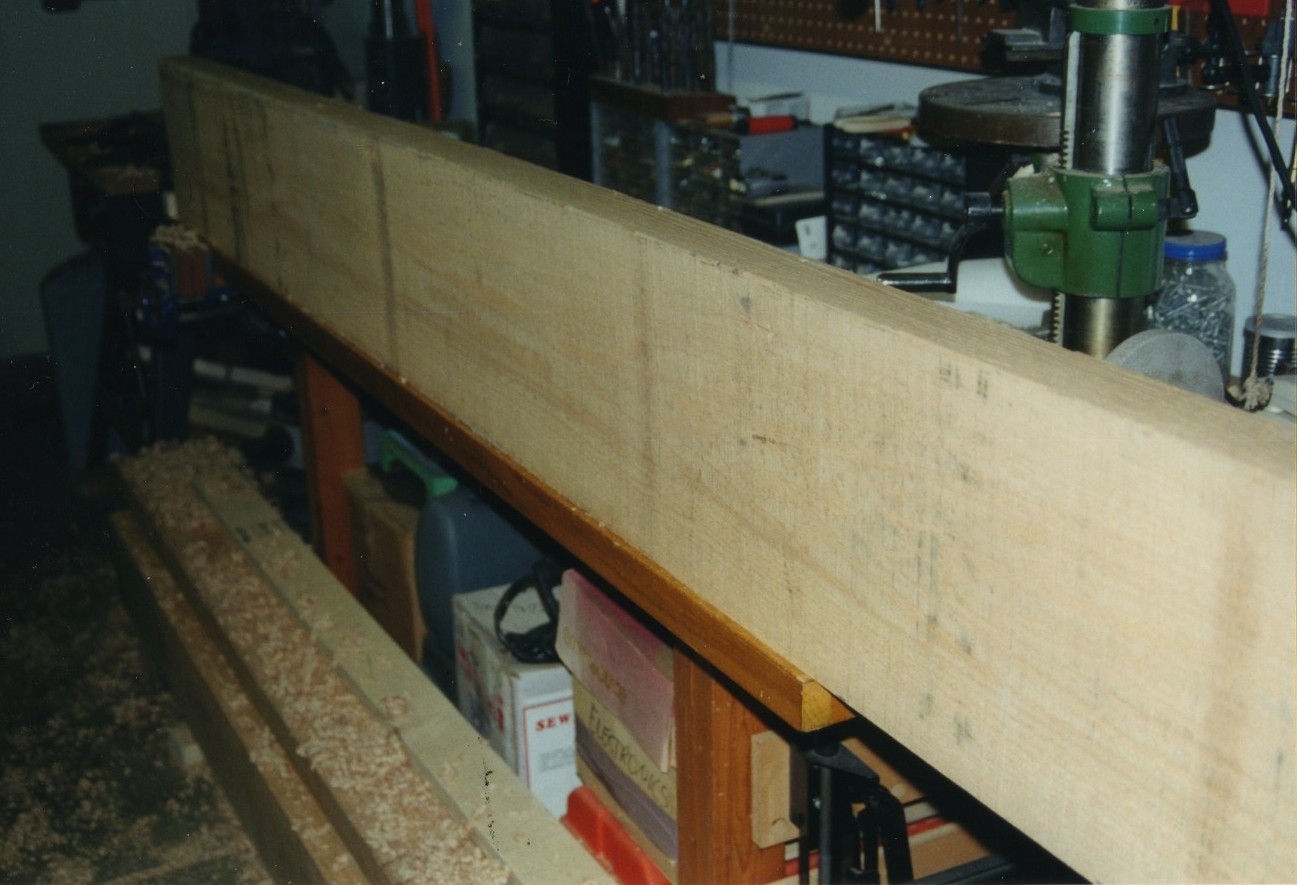
The benchtop was constructed from three red oak planks. They are shown above after being rough planed and jointed using hand planes. In Colorado, finding nice thick hardwood planks was a challenge. After visiting various suppliers and sorting through stacks of ugly boards, these were the best I could find. They were cupped but did not have much twist and were fairly straight. The edges of two of the planks were water damaged and there was some insect/worm damage. Anyway, this was what I could get. I would have liked to have found thicker planks but since I didn’t, I strived to minimize material removal across the thicknesses of the planks and the finished bench top.
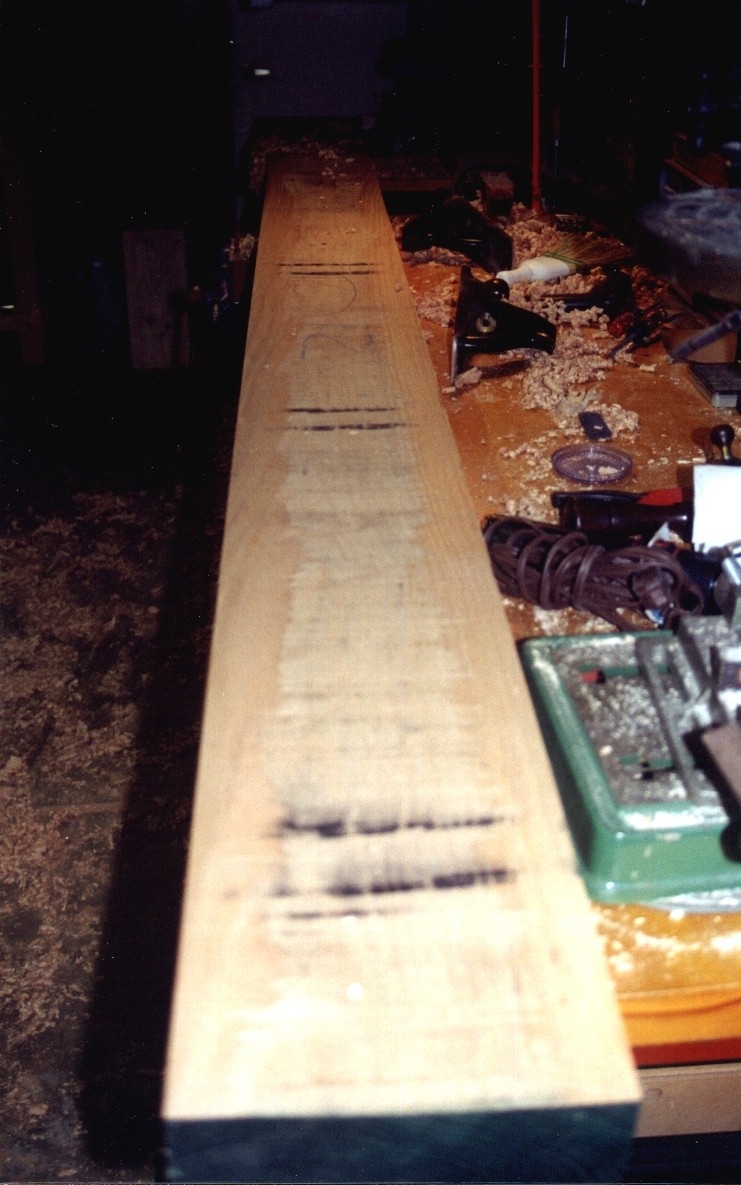
A workbench is pretty much needed to make one, so I did the rough planning on my garage workbench. You can see water damage on the edge of the plank that’s on the bench. I put a Stanley #40 and #5 to very heavy use in getting the planks jointed.
At this stage of plank prep, I concentrated on only removing the worst of the cupping.
I put a lot of effort into getting very straight, square, and flat plank edges for gluing. Finishing was with Stanley #7 and #8 planes.
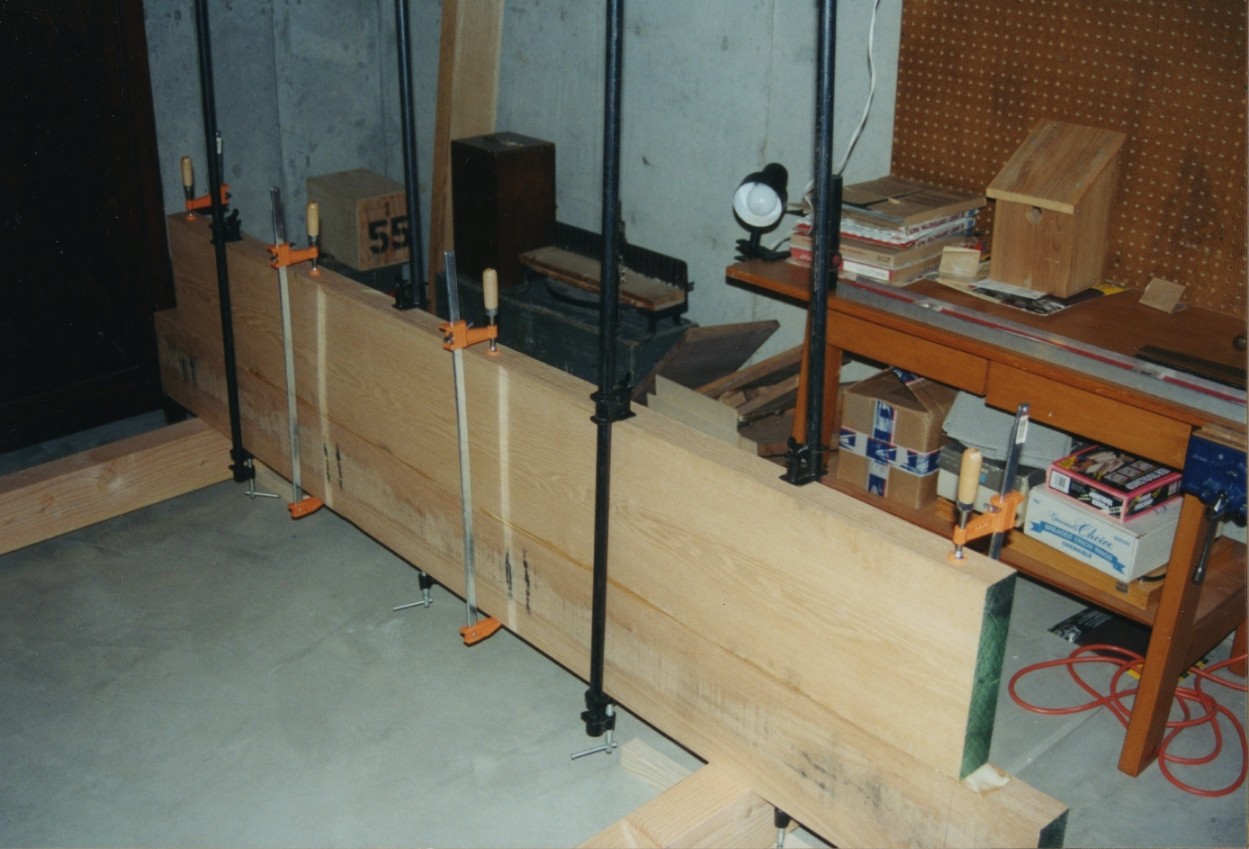
After trial fittings that ensured I would get the maximum usable length with the three planks, I glued the planks together in two stages. First, I glued the first two planks together. Note that I’m relying only on the glue strength, there are no biscuits or dowels.
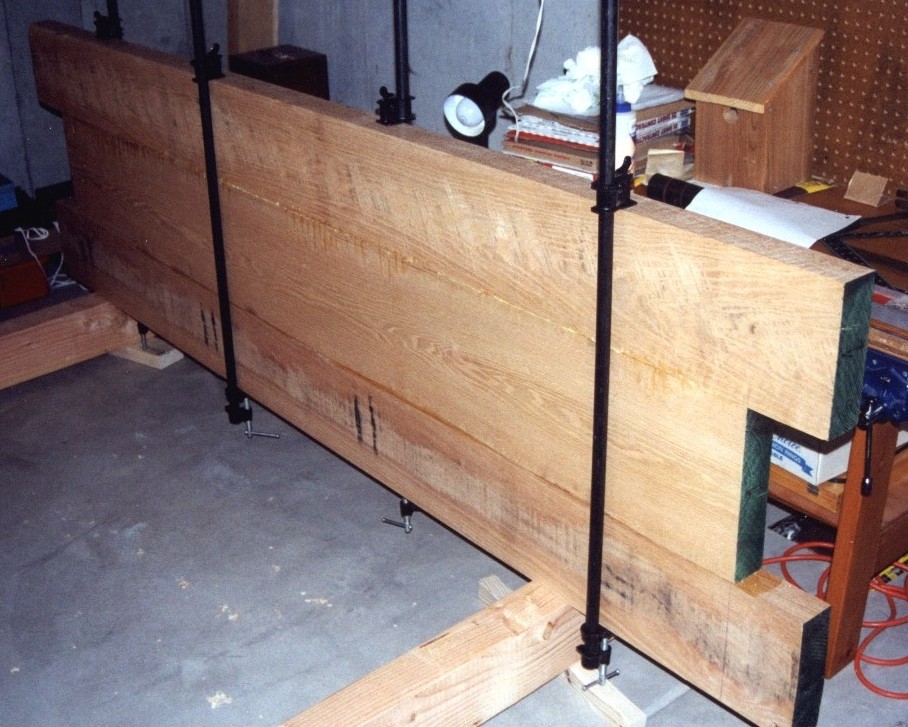
Then I glued the second joint. You can see that I alternated the cupping directions.
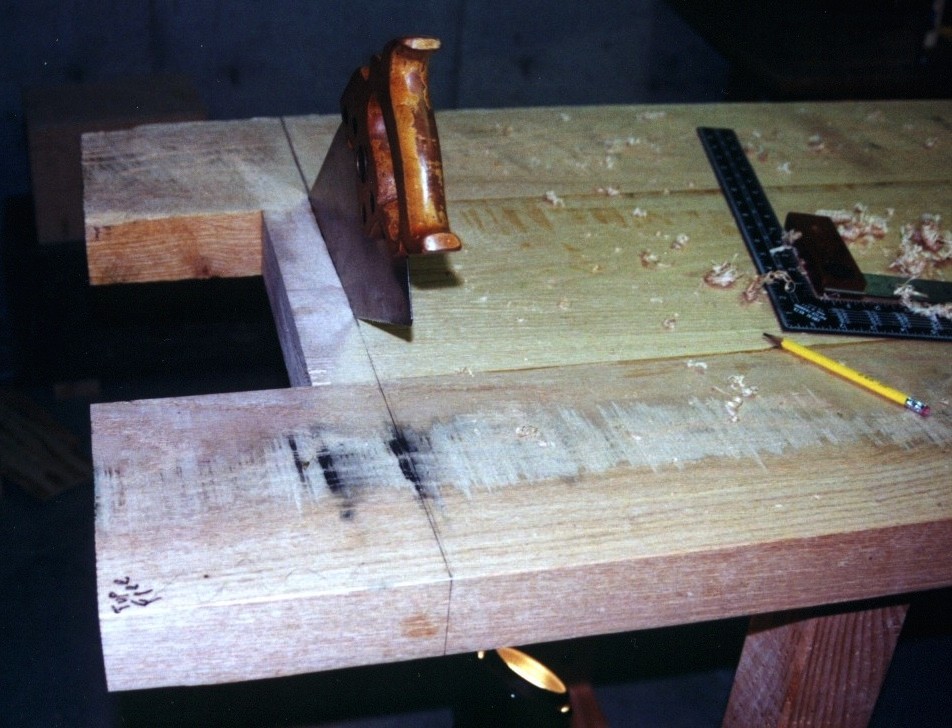
Once the joints were fully cured, I made clean cuts at each end of the bench top with a crosscut handsaw.
Now it’s beginning to look like a workbench. However, you can see that there is a lot more hand planing to do.
It took a lot of planing to get the top reasonably flat and smooth. In the interest of not removing any more thickness than necessary, I did not over stress on the flatness. I used winding sticks to ensure that there was minimal twist. I used a hand scraper in certain areas that did not plane well. I minimized bottom surface cleanup to minimize thickness reduction. Just enough for it to rest on the base without rocking. I believe you can see a sinusoidal wave along the bottom edge which is due to the alternating the cupping directions of the planks.
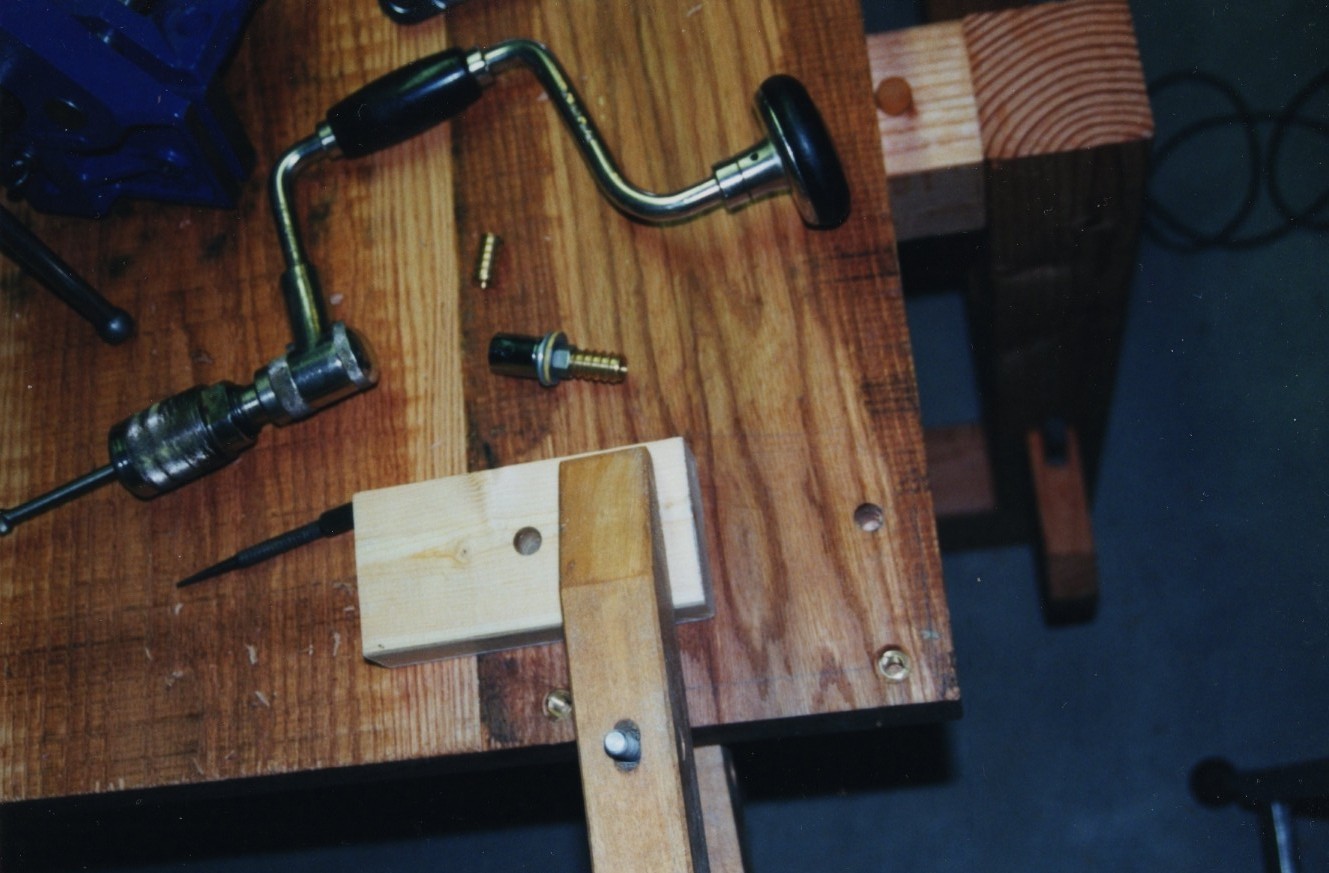
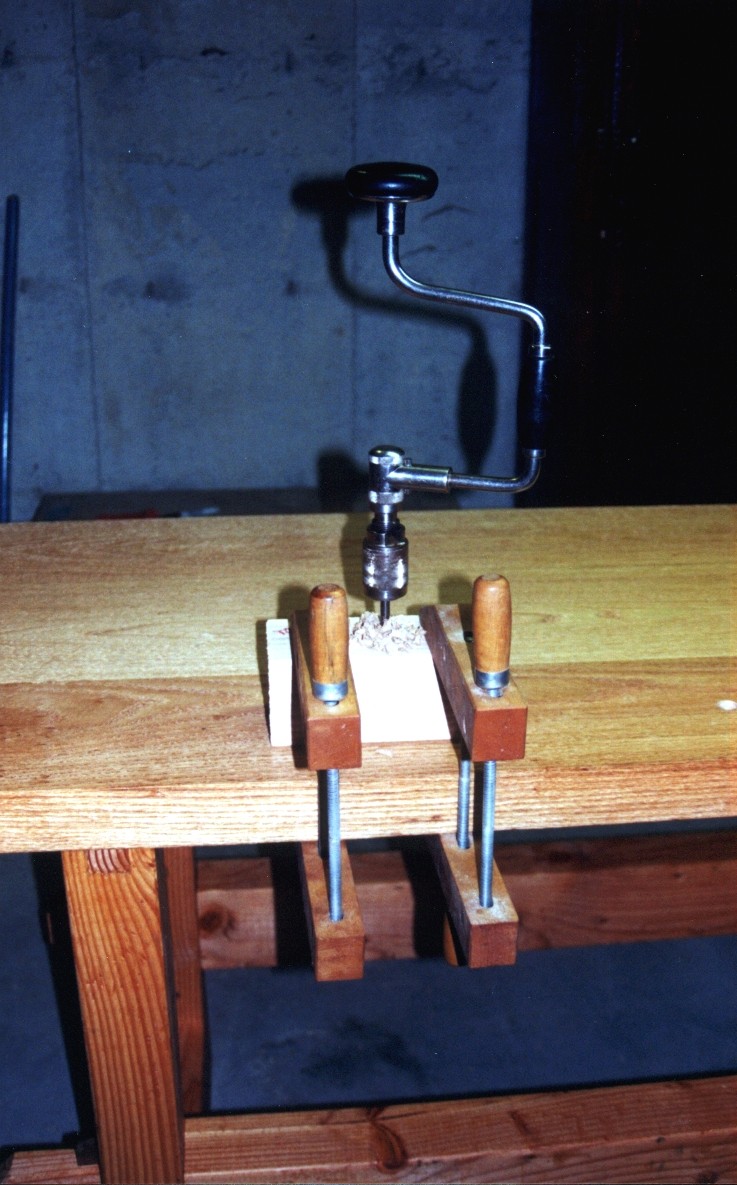
I have flipped the top over and I’m in the process of installing mounting features for the vises. The clamped block works as a drill guide for drilling holes for threaded inserts. One of the two dowels in the leg truss upper crossmember that hold the top in place can also be seen. The dowels and the weight of the top are enough to hold it stable even during hard use. I have already applied the first coat of finish (a beeswax, mineral spirits, and boiled linseed oil mixture).
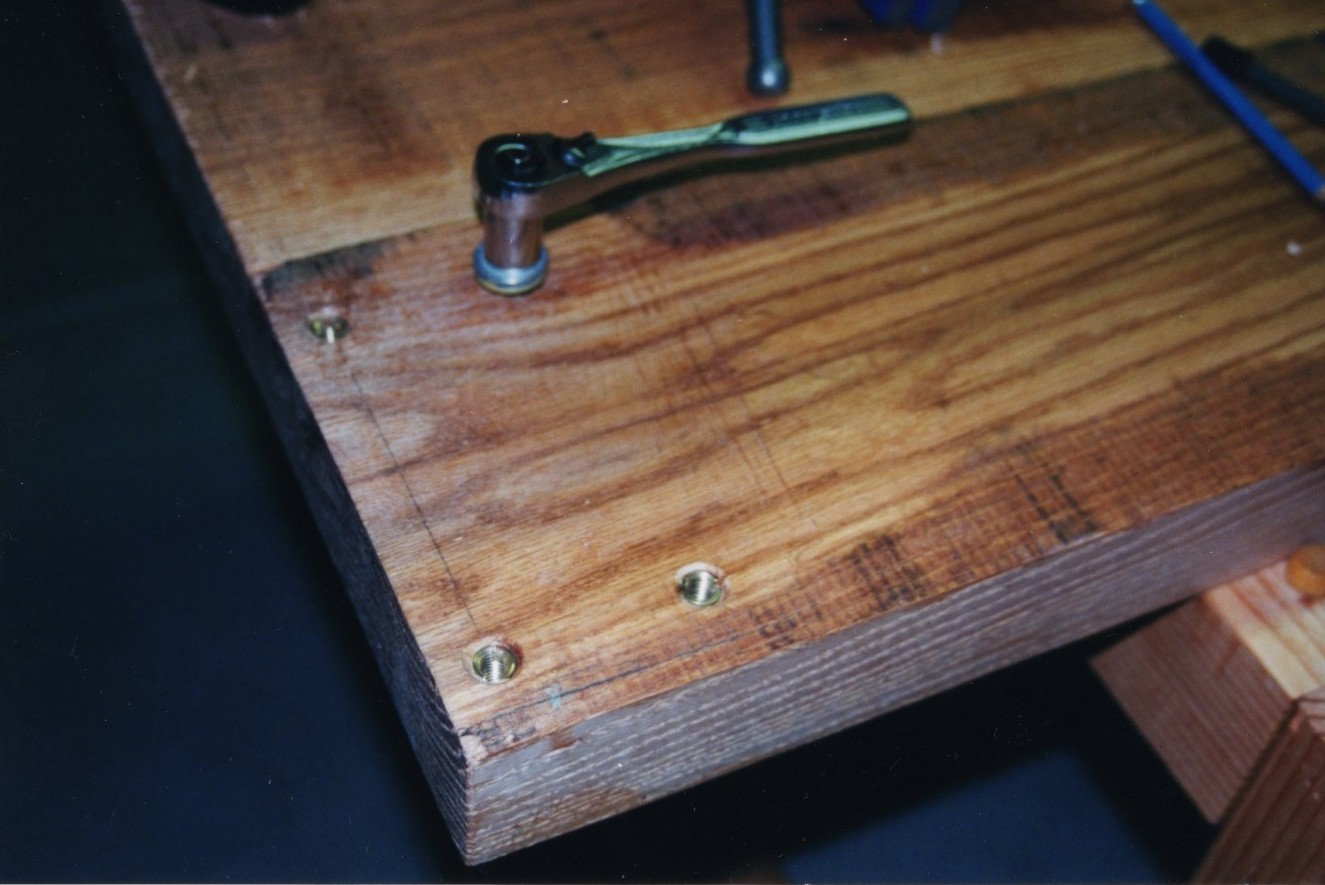
A socket wrench was used to thread in the threaded inserts.
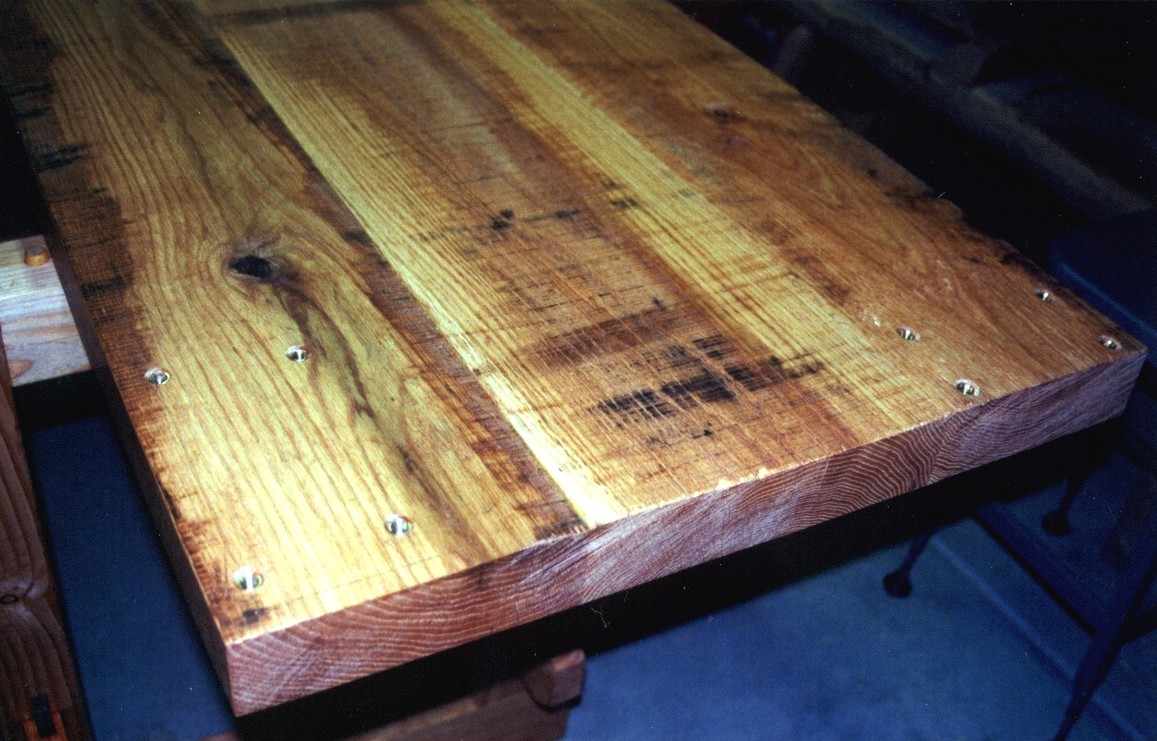
This view shows the inserts installed for the large side vise on the left and inserts for an alternate end vise location on the right. The primary location of the end vise is at the other end of the bench. The inserts enable easy relocation of the vises.
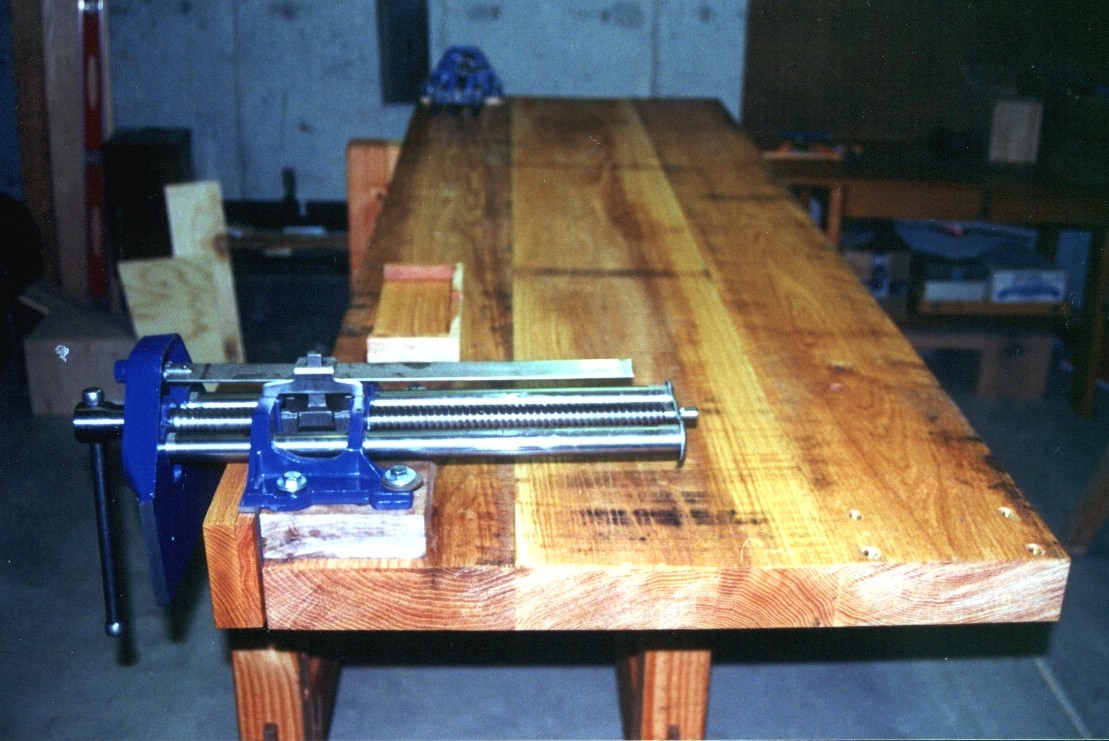
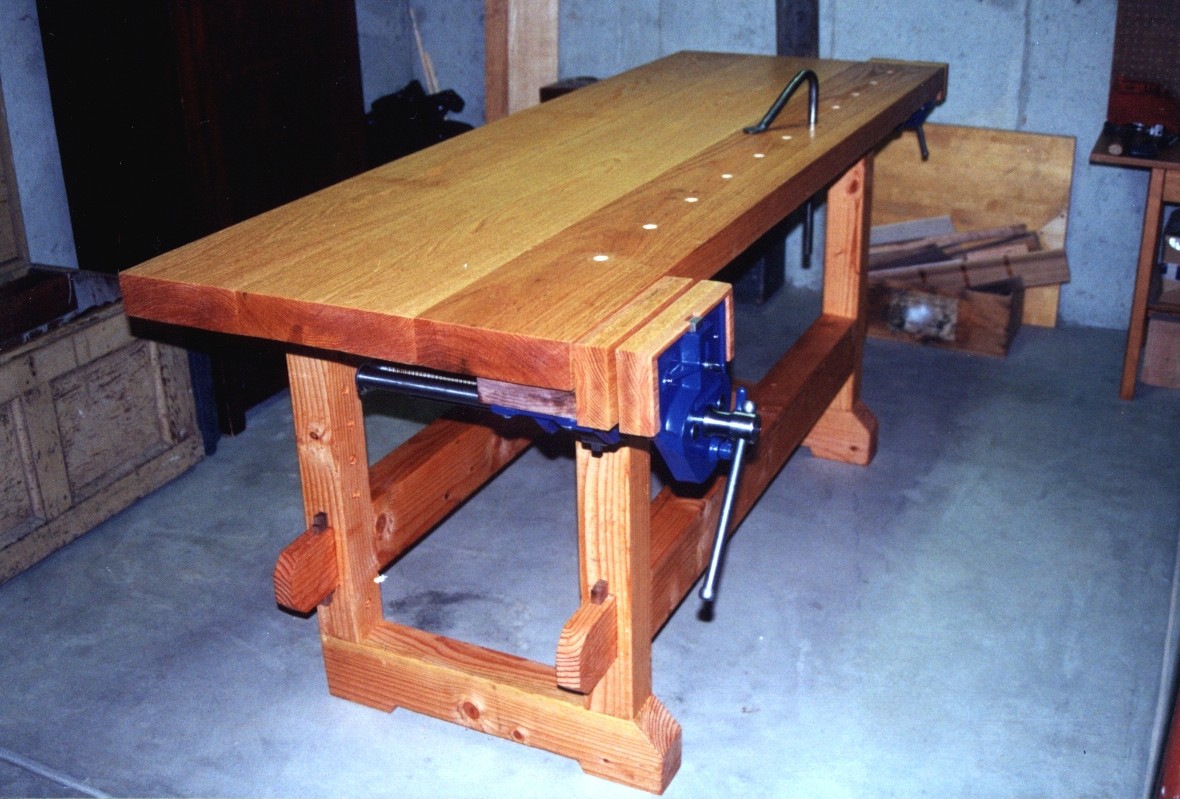
The vises are installed.
Here I’m using a drill guide block for drilling 3/4 inch diameter dog holes through the top.
Box-like oak covers were custom fit for the jaws of each vise and were attached with screws. These screws and the vise mounting bolts are the only fasteners used on the workbench other than glue. Also, additional coats of finish have been applied. The bench is finished although I always figured that I would add more dog holes running across the width of the bench in front of the side vise (they were figured into the other dog hole pattern). Since I have not yet needed them, they have not been drilled. I also thought that I would do further flattening after a few years of letting the top stabilize, but, after twenty years or so, I have not needed to.
Autocad-based workbench layout.

